How to Repair and Professionally Refinish Furniture
Introduction
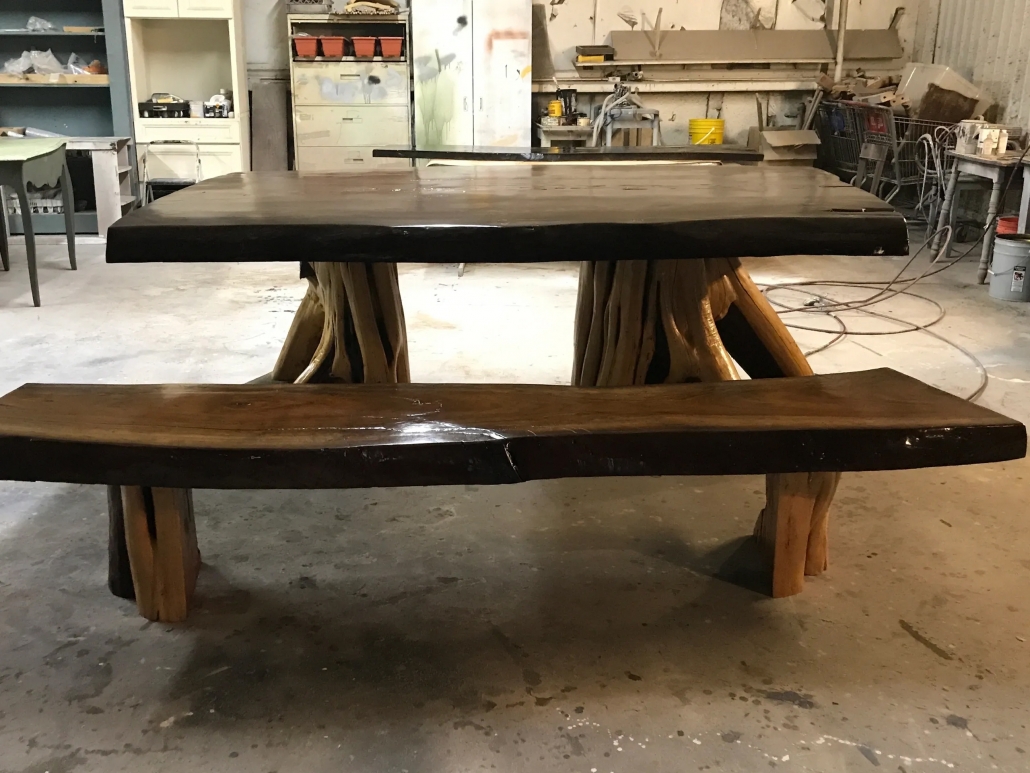
Furniture repair and refinishing can rework your antique, tired portions into stunning, like-new objects. Whether you’re trying to restore minor scratches or undertake a complete refinishing mission, understanding the right techniques and substances is essential. This guide will walk you through the system step-by-step, ensuring your fixtures look excellent.
Understanding Furniture Damage
Types of Damage
Furniture can be afflicted by various varieties of harm, consisting of scratches, dents, watermarks, and damaged elements. Scratches and dents are common, specifically in timber furniture, and can regularly be repaired with easy techniques. Watermarks arise whilst moisture penetrates the finish, leaving a cloudy spot. Broken elements, consisting of legs or joints, require more significant upkeep and might need professional intervention.
Assessing Damage
Before starting any restored paintings, thoroughly examine the harm. Look for surface-degree issues like scratches and dents, and deeper issues along with structural weaknesses. Identifying the extent of the harm will help you determine the first-rate restoration technique and whether you want extra equipment or substances. Documenting the damage with pix can also be beneficial as a reference for the duration of the restoration procedure.
Essential Tools and Materials
Basic Tools
To effectively restore and refinish furniture, you may need a hard and fast of simple equipment. Essential gear encompasses sandpaper, screwdrivers, clamps, timber glue, putty knives, and a hammer. Sandpaper is important for smoothing surfaces and eliminating vintage finishes. Screwdrivers and hammers are essential for tightening or replacing hardware. Clamps help preserve elements together at the same time as the glue dries.
Materials Needed
In addition to gear, collect the vital materials. These include wood filler, stain, varnish, paint, and chemical strippers. Wood filler is used to fill in scratches and dents. Stain and polish restore the wood’s color and protect it from destiny harm. Paint can deliver furniture a new appearance. Chemical strippers are critical for removing antique finishes thoroughly and efficaciously.
Step-by-Step Guide to Furniture Repair
Cleaning and Preparation
Before starting any restoration work, smooth the fixtures very well. Use a mild detergent and water to remove dust and filth. For stubborn stains, a mixture of vinegar and water may be powerful. Allow the furnishings to dry absolutely. Once easy, sand the floor gently to do away with any end and create an easy base for repairs. This step is essential for ensuring that new finishes adhere well.
Fixing Scratches and Dents
To restore scratches, use a timber filler or putty that suits the coloration of your furniture. Apply the filler to the scratch and ease it out with a putty knife. Once dry, sand the region gently to combine it with the encircling surface. For dents, dampen a material and place it over the dent. Use a warm iron over the fabric to steam the timber, which could help boost the dent. Repeat as necessary until the dent is less visible.
Repairing Broken Parts
For damaged parts, which include legs or joints, use timber glue to bond the portions collectively. Apply glue to the damaged surfaces and clamp them tightly till the glue dries. For large breaks, consider the usage of screws or dowels for brought power. If a piece is simply too broken to restore, you would possibly need to update it completely. Ensure all repairs are strong and steady earlier than intending to refinish.
Professional Furniture Refinishing Techniques
Stripping Old Finish
Stripping the antique finish is step one in refinishing furnishings. Use a chemical stripper consistent with the manufacturer’s commands. Apply the stripper with a broom and let it take a seat for the endorsed time. Once the antique end starts to bubble, use a putty knife to scrape it off. Be positive to work in a properly ventilated vicinity and wear shielding gloves and eyewear.
Sanding the Surface
After stripping the vintage end, and the furnishings to put off any remaining residue and clean the floor. Start with coarse-grit sandpaper and regularly move to finer grits. Sand alongside the grain of the timber to keep away from scratches. This step is essential for creating a clean, even surface to take in the new finish uniformly. Wipe away dust with a tack fabric among sanding tiers.
Applying New Finish
Choose a finish that enhances your furnishings and observe it in keeping with the product’s commands. Common finishes include stain, varnish, and paint. For stains, practice with a brush or fabric, and wipe off extra with an easy fabric. Allow it to dry completely before applying a clear varnish for safety. If the use of paint, observe thin, even coats and let each coat dry before adding another. Sand gently among coats for a clean end.
Tips for Maintaining Refinished Furniture
Regular Cleaning
Maintain your refinished fixtures using cleaning them frequently. Dust regularly with a tender cloth to save you from dirt buildup. Use a mild cleaning soap and water solution for deeper cleansing, and dry the surface right now to avoid water harm. Avoid harsh chemicals or abrasive cleaners that can harm the finish.
Preventing Damage
Protect your refinished furnishings by setting them away from direct sunlight and heat sources, which can cause fading and cracking. Use coasters, placemats, and tablecloths to prevent scratches and stains. Apply felt pads to the bottoms of items located at the fixtures to avoid scratching the floor. Regularly investigate the furniture for any signs of damage and cope with them right away.
Conclusion
Repairing and refinishing furniture may be a profitable DIY challenge. With the right equipment, materials, and techniques, you may transform old, damaged pieces into beautiful, useful objects. Follow this manual to attain professional-pleasant outcomes and experience your refinished furnishings for years yet to come.
FAQS
Q1: What is the quality way to get rid of scratches from wooden furnishings?
The first-class manner to put off scratches from timber fixtures is to use a timber filler or putty that suits the color of the timber. Apply the filler to the scratch, ease it out with a putty knife, and sand lightly as soon as dry to blend with the encircling surface.
Q2: Can I refinish fixtures without stripping the vintage finish?
While it’s far feasible to refinish fixtures without stripping the antique end, it is normally recommended to cast off the vintage finish for the great consequences. Stripping ensures a clean, even surface to absorb the brand-new finish uniformly.
Q3: What equipment do I need for fundamental fixtures restoration?
Basic gear for fixture repair encompasses sandpaper, screwdrivers, clamps, wood glue, putty knives, and a hammer. These equipment are critical for cleansing, repairing scratches and dents, and fixing damaged elements.
Q4: How regularly should I clean my refinished furniture?
Regular dusting with a soft material ought to be carried out often. For deeper cleansing, use a slight cleaning soap and water solution as wanted, however, make certain the surface is dried without delay to prevent water damage. Avoid harsh chemical substances or abrasive cleaners.
Q5: What are a few guidelines for stopping damage to refinished furniture?
To save you harm, preserve refinished furniture far from direct sunlight and warmth assets. Use coasters, placemats, and tablecloths to shield surfaces. Apply felt pads to gadgets positioned on the furnishings and regularly look at them for put on and cope with issues right away.


Leave a Reply
Want to join the discussion?Feel free to contribute!